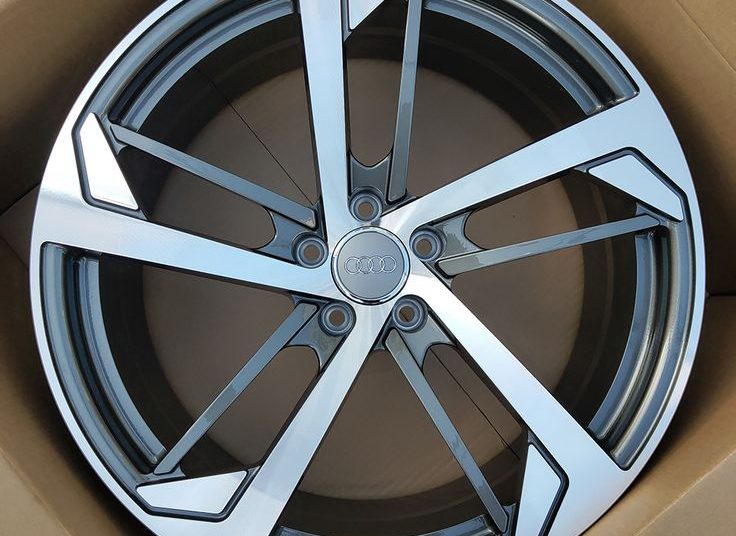
The urge to personalize your car with gleaming wheels and stylish accessories can be strong. And the good news is, installing many of these upgrades can be a rewarding DIY project! Before you dive in, however, familiarize yourself with your car and the specific installation process for your chosen parts. Here’s a roadmap to guide you through 10 easy steps for installing most wheels accessories:
Safety First:
- Park on a Level Surface: Find a flat, stable surface to work on. Engage the parking brake and chock the wheels you’re not working on for added safety.
Gather Your Supplies:
- Tools of the Trade: Assemble the necessary tools based on your project. This might include a lug wrench, jack stands, socket wrench set, screwdrivers, and a torque wrench (highly recommended).
- Consult the Manual: Your car’s manual is a goldmine of information. Refer to it for specific jack points, lug nut torque specifications, and any disassembly instructions.
Preparing for the Swap:
- Loosen the Lug Nuts (Slightly): With the car still on the ground, use the lug wrench to loosen the lug nuts on the wheels you’ll be replacing. Don’t remove them completely yet!
Jacking Up the Car:
-
Locate the Jack Points: Refer to your car’s manual to identify the designated jack points for safe lifting.
-
Raise the Car: Carefully position the jack under a designated jack point and slowly raise the car until the tire you’re working on is off the ground.
Wheel Removal:
-
Remove the Lug Nuts: Now that the wheel is lifted, completely remove the lug nuts and set them aside in a safe location.
-
Slide Off the Old Wheel: Straight pull the old wheel away from the hub. If it’s stuck, a gentle tap with a rubber mallet might help loosen it.
Wheel Installation:
-
Align the New Wheel: Carefully position the new wheel onto the hub, ensuring the holes for the lug nuts align.
-
Tighten the Lug Nuts (Hand Tight): Screw the lug nuts back on by hand as much as possible in a star pattern (tightening each nut a little at a time in a crisscross pattern).
Final Touches:
- Lower the Car: Slowly lower the car using the jack until the tire touches the ground firmly.
- Tighten the Lug Nuts (Properly): Use the torque wrench (set to the recommended specification from your car’s manual) to tighten the lug nuts in a star pattern to ensure proper fitment and safety. Double-check the tightness after driving a short distance.
Congratulations! You’ve successfully installed your new wheels (or accessories). Remember, this is a general guideline. The specific steps may vary depending on your car and the parts you’re installing.
Important Note:
- Complexity Matters: While some accessories like mudguards or valve caps are easy to install yourself, consider seeking professional help for complex upgrades like alloy wheels or TPMS sensors. They require specialized tools and ensure proper fitment and safety.
- Safety Always Comes First: If you’re unsure about any step of the process, don’t hesitate to consult a mechanic or professional installer.
By following these steps and prioritizing safety, you can take the satisfaction of transforming your car into a personalized masterpiece with your own two hands. Happy wrenching!


Discussion about this post